Use moisture-resistant drywall in wet areas
Bathrooms, kitchens, basements, and laundry rooms benefit from moisture-resistant or 'green board' drywall. Mold-resistant 'purple board' is even better for high-humidity areas.
Wet drywall is a 48-hour decision: dry it or remove it. Get the call wrong and you'll be paying for both — twice.
The first day determines whether this is a $5,000 problem or a $50,000 reconstruction. Follow these steps in order.
Drywall keeps wicking moisture from any continuing leak. Source containment is step zero — without it, drying wastes effort.
Photograph wet drywall before any cuts. Mark the wet/dry boundary. Insurance pays for what's documented.
Pin or pinless moisture meter. Drywall above 1% MC (or 18 on most pinless meters) needs aggressive drying. Above 25–30 typically means replacement.
Restoration standard practice for badly saturated drywall is a 12-inch flood cut — remove drywall up to 12 inches above the wet line. This exposes the wall cavity for drying and removes the most-damaged material.
Wet baseboards trap moisture against drywall. Pull them carefully (label backs for reinstallation), let them dry separately, and reinstall after drywall is replaced or dried.
Saturated batt insulation can't dry properly inside a wall cavity. Remove and dispose; replace with fresh insulation when wall is rebuilt.
Air movers in the wall cavity (not just the room), LGR dehumidifier sized for the space, and daily monitoring. Wall cavity drying is its own discipline.
Frozen pipe rupture, corroded joint failure, or pinhole leak slowly saturating drywall from inside the wall cavity. Often invisible until damage shows.
Slow drips from connections behind sinks, tubs, or toilets. Saturate the drywall over weeks before staining shows.
Water enters at the roof, travels along framing or down the wall surface, soaking drywall well below the entry point.
Failed flashing or weatherstripping lets rain in around windows/doors. Drywall around the opening shows damage first.
Ground water or sewer backup saturates lower 2–4 feet of basement drywall. Capillary action pulls moisture higher than visible water level.
Inadequate exhaust + steam from showers gradually saturates drywall over years. Often shows as growth around ceiling vents and behind tile.
Slow leaks soak drywall behind appliances over weeks. By the time you notice, mold may already be established in the cavity.
These mistakes turn manageable losses into reconstruction projects. We see them every week.
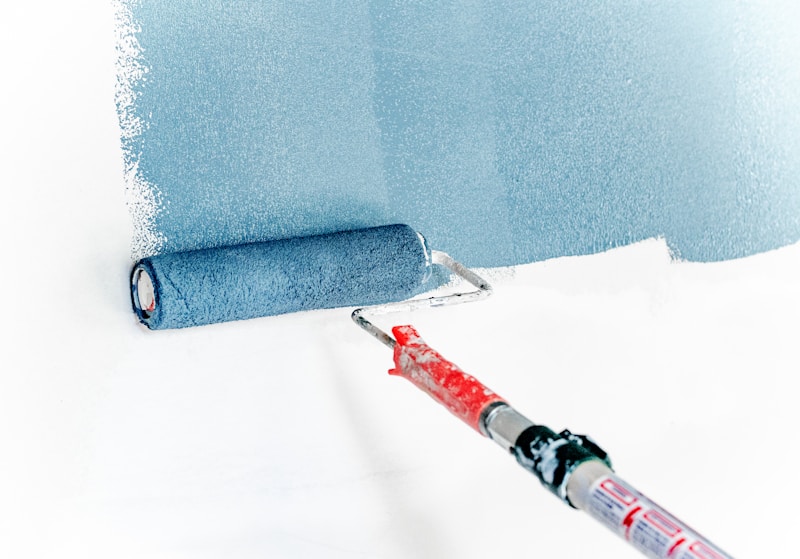
Paint over moisture traps it under the surface, where it continues to feed mold and degrade the gypsum core. Stain return is nearly guaranteed within weeks.
Eyeballing 'looks dry' isn't drying. Drywall must reach <1% MC (pin meter) or <18 (pinless) before painting/finishing. Otherwise hidden moisture causes long-term mold and recurring stains.
Wall cavities don't dry with surface fans. Need air movers directed into cavities (sometimes through cuts), plus LGR dehumidification of room air to lower dew point.
Even if it 'feels dry,' compressed wet insulation can't return to proper R-value. Replace it. Insulation is cheap; reinstallation is the labor cost.
Capillary wicking pulls moisture 4–18 inches above visible water. Standard 12-inch flood cuts catch most wicking. Cutting only 4–6 inches often misses the wet zone.
Even properly dried drywall can have residual mold spores in the cavity. Antimicrobial treatment is standard practice and cheap insurance against future colonies.
Daily moisture readings, photos at each phase, scope sheet matching what was actually done. Without these, insurance will undervalue the claim.
Call a pro for any drywall water event beyond a few square feet. Wall cavity drying requires equipment most homeowners don't have. The decision matrix matters: drywall under 24 hours wet with low absorption may be saveable; over 48 hours wet usually needs flood cuts. Restoration companies have moisture meters that read accurately, thermal imaging that finds hidden wet areas, and the experience to make save-vs-replace calls correctly. Insurance also pays for professional mitigation; DIY mitigation that fails is grounds for claim reduction.
Most water damage events are preventable with simple maintenance. Here's the playbook.
Bathrooms, kitchens, basements, and laundry rooms benefit from moisture-resistant or 'green board' drywall. Mold-resistant 'purple board' is even better for high-humidity areas.
Run exhaust fans 20–30 minutes after showers. Replace inadequate fans (under 50 CFM) with proper-sized units. Some have humidity sensors that auto-run.
Prevents condensation that drips slowly inside cavities. Pipe insulation is cheap; cavity damage is not.
When walls are open during renovations, replace old supply lines, inspect drain joints, and improve access for future maintenance.
Don't wait. Small ongoing leaks saturate drywall over months without obvious symptoms.
Battery alarms in walls near appliances and plumbing. Smart whole-house systems (Flo, Phyn) auto-shutoff on anomalies.
30–55% RH year-round. Whole-house humidifiers in winter, dehumidifiers in summer or in basements.
5-minute walk-around every 3 months. Catch early stains while remediation is contained, not catastrophic.
| Item | Range |
|---|---|
| Drying drywall in place (per wall section) | $300 – $1,500 |
| Flood cut & replacement (per linear ft) | $25 – $75 |
| Full wall replacement (per room) | $1,500 – $4,500 |
| Insulation removal & replacement | $1 – $3/sq ft |
| Texture matching | $1 – $4/sq ft |
| Painting (after replacement) | $2 – $5/sq ft |
| Mold remediation if delayed | $1,500 – $6,000 |
Most drywall water damage restorations in the US run $1,500–$8,000 per affected area. Whole-house events (after major flooding) can exceed $25,000 in drywall alone. Insurance typically covers sudden-cause damage at full RCV (replacement cost value).
See full pricing breakdown across all servicesDrywall water damage from covered causes (burst pipe, appliance failure, storm) is reliably paid under standard US homeowners insurance at full RCV. Claims include demolition labor, disposal, new drywall, mud/tape, texture matching, and primer/paint. Subtle issue: many initial scopes underestimate texture matching costs — modern textures (orange peel, knockdown, smooth) are harder to match than old plaster. Insist on adequate scope. Replacement extent matters: insurance generally won't pay for replacing entire walls if only 4 feet were wet; document the wet zone precisely so the scope matches actual damage. For partial-wall replacements, paint the entire wall (not just the patched section) — this is standard scope and adjusters usually approve when included in initial estimate.
How we handle your insurance claimStop water source, extract surface water
Flood cuts, baseboard removal, insulation removal
Wall cavities and remaining drywall dried with monitoring
Studs and substrate treated, allowed to dry
New insulation, drywall, mud/tape, texture, prime, paint
We document everything, bill insurance directly, and never charge for the inspection — even if you choose not to proceed.
See the difference our certified crews make. Drag each slider to compare.
Water damage doubles in cost every hour. Mold starts in 24. Call now — free inspection, fast response, insurance handled.